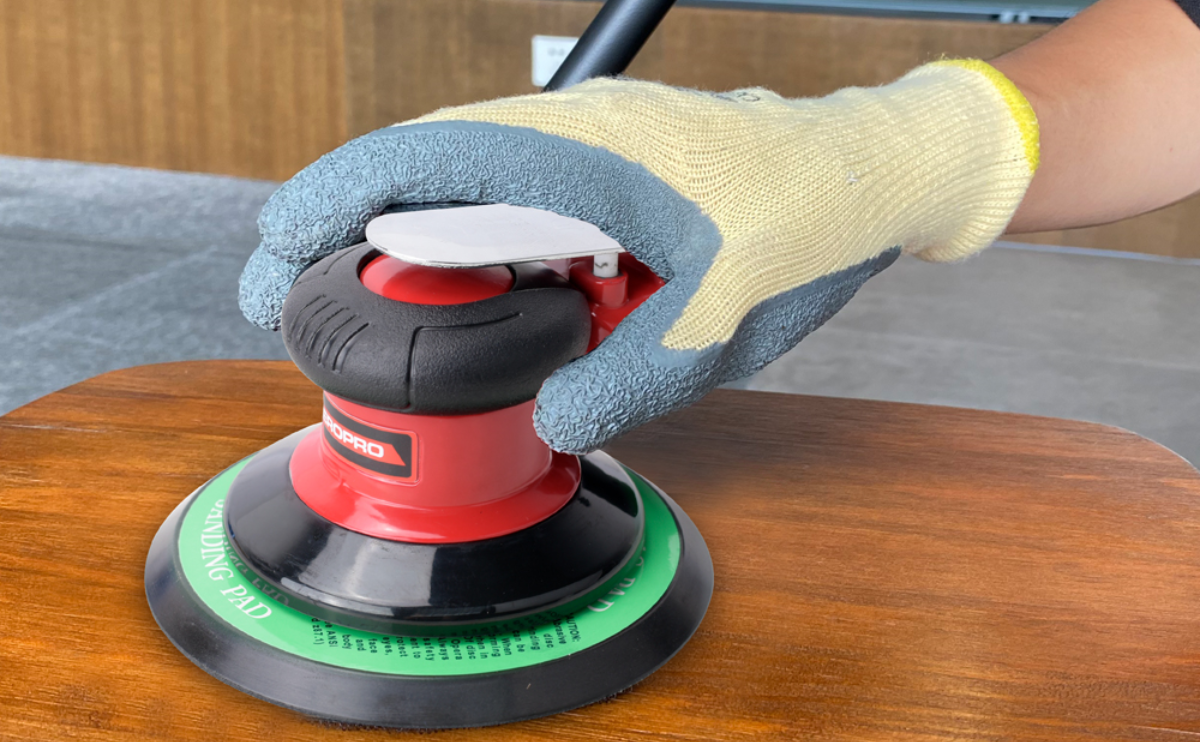
Is your air sander leaving behind uneven patches or scratches? Using an orbital sander can make sanding wood and metal surfaces faster, but there are some mistakes that amateurs often make when using these tools. Avoiding these common orbital sander pitfalls will help you get better results and prevent damage to your workpiece or the sander itself.
Choosing the Wrong Grit Sandpaper
Orbital sanders are designed to be used with specific grits of sandpaper, usually between 60 and 220 grit. Using sandpaper that is too fine or coarse can lead to problems. Sanding with paper that is too fine will take forever to remove material and clog the paper. Using extra coarse grits can leave deep scratches in the surface that are difficult to remove. Typically 80-120 grit papers are best for rapid stock removal on wood, while higher grits up to 220 are used for final smoothing.
Applying Too Much Pressure
Orbital sanders are designed to operate with a specific amount of downforce, usually just the weight of the sander itself. Orbital sanders work best when they are allowed to move freely over the surface. Applying excessive pressure can slow down the sanding motion, leading to uneven sanding results. It can also cause the sander to leave swirl marks in the material. Let the tool do the work for you by holding it lightly and letting it glide over the surface. The weight of the sander provides enough downward force for effective sanding.
Not Moving the Sander Continuously
The random orbital motion of these sanders requires that they be kept moving constantly to achieve even sanding. Stopping in one place or hesitating will create deeper scratches and sanding marks. Keep the sander moving uniformly across the workpiece. Work in the direction of the wood grain when possible to get the best results.
Not Removing Dust Frequently Enough
Sanding produces fine dust that can quickly clog abrasives and reduce cutting efficiency. Pause regularly to vacuum or blow dust out of the sandpaper with compressed air. Keep the dust extraction system running whenever sanding to prolong the life of the sandpaper.
Sanding Off the Edge
It’s important to maintain full contact between the sanding pad and the workpiece surface. If the sander tilts or sands off an edge, the abrasive action becomes uneven. This can leave cut marks and grooves at the edge, use extra caution when working along edges and corners.
Using a Dry Sander Wet
Orbital sanders are designed for dry use and will be damaged if submerged in water. However, some woodworkers like to dip the sandpaper in water periodically when sanding wood. The water raises the grain slightly and helps clog the paper for a finer finish. If you want to try this, choose a sander model specifically made for wet sanding and avoid soaking the actual sander body.
Overheating Thin Workpieces
The friction from sanding generates heat, especially on metal surfaces. Go slowly when sanding thin wood or metal to prevent distortion, discoloration, or damage to the material. Apply only light pressure and pause regularly to allow heat to dissipate, keep the sander moving to prevent heat buildup in one spot.
Plunging Straight In
Don’t place the sander directly onto the workpiece or you may get swirl marks as it spins up to operating pad speed. Instead, start a foot or two away and let the air sander make light contact as you begin moving it across the surface. Build downforce slowly as the pad comes up to speed for better control.
Make any cooperation possible. Any services related to the product, inquire with us now! Sales@Aeroprotools.Com


