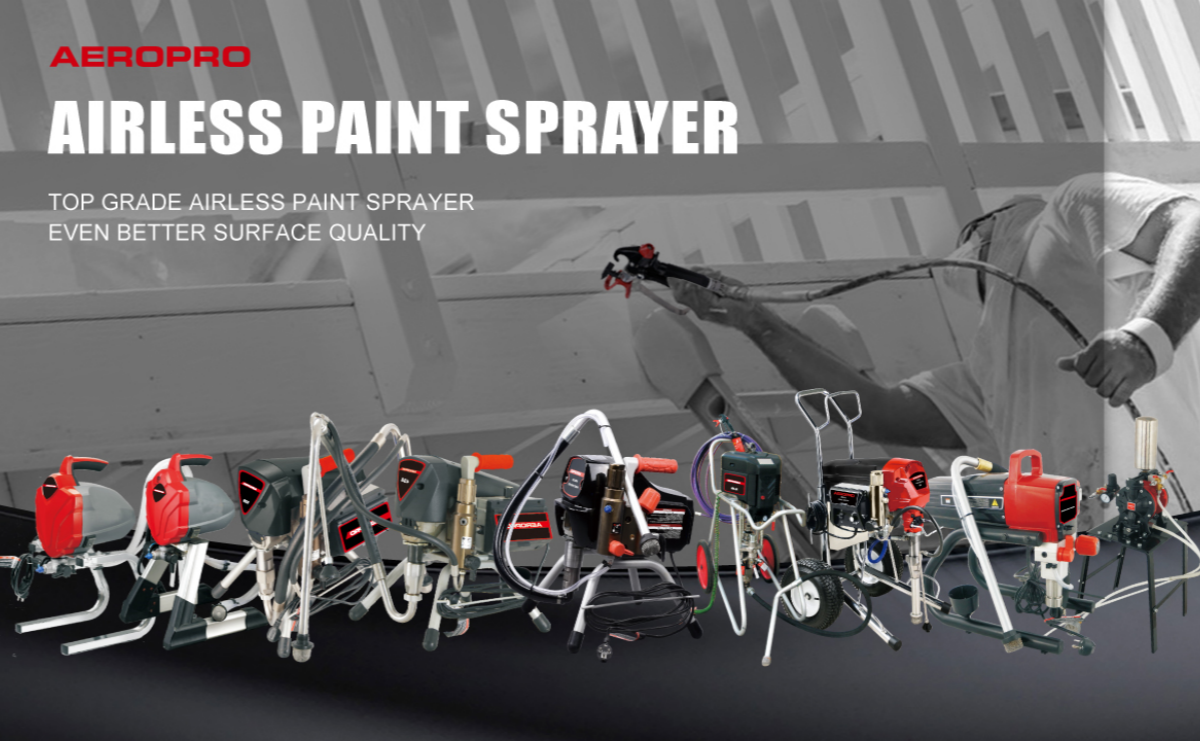
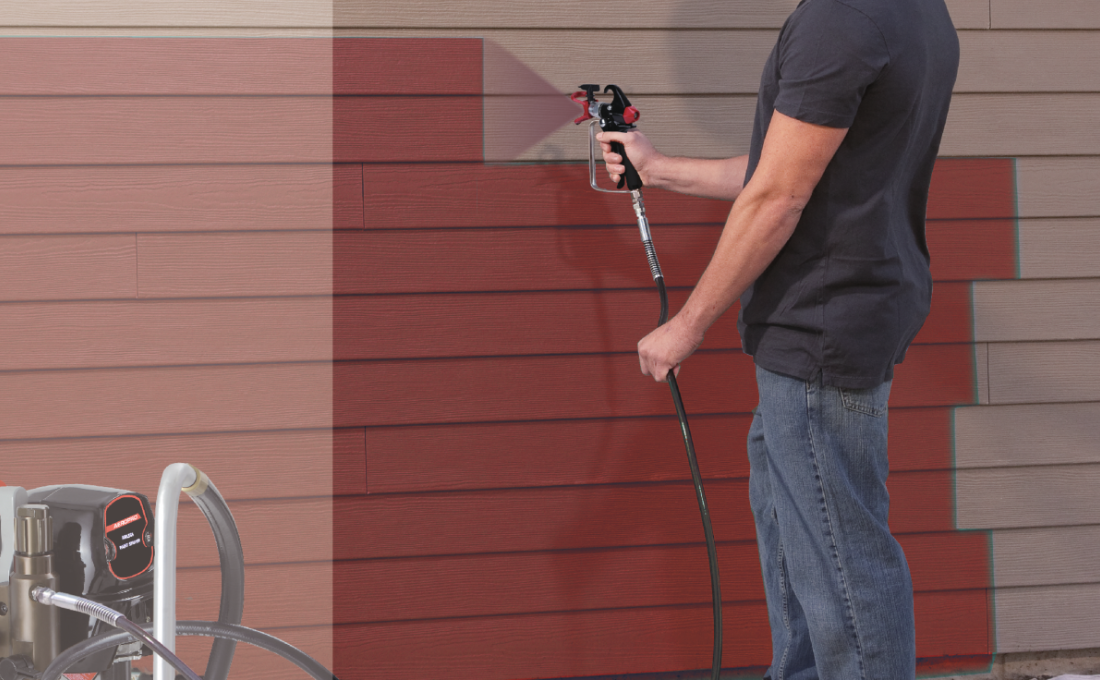
Applying a fresh coat of paint to your home’s exterior can really transform its appearance. An airless paint sprayer is the tool to make painting the exterior of your house much simpler. We’ll get into the essentials of using an airless sprayer for painting your house’s exterior.
Why an Airless Sprayer?
Several benefits make airless sprayers ideal for exterior painting.
Efficiency: Reducing the project’s overall duration by half or more. This is especially true for large surfaces like siding and cladding.
Professional Finish: With proper technique, an airless sprayer can deliver a even coat of paint, get the professional finish achieved by painters.
Improved Reach: Nooks and crannies, like eaves and soffits, become easily accessible with a sprayer’s extension wands.
Choose the Right Paint
When painting the exterior of your home, you’ll want to use exterior paints formulated for withstanding the elements. For wood siding, use exterior acrylic latex. For stucco, choose an elastomeric acrylic paint which flexes without cracking or peeling.
Oil-based paints are not recommended for exterior house painting as they become brittle and prone to peeling over time when exposed to sun and weather. Buy enough paint to complete the whole job and get all your paint from the same batch so colors will match exactly.
Prepare for Overspray
No matter how careful you are, some amount of paint drift is inevitable when spray painting outdoors. Cover or mask off anything you don’t want painted – windows, doors, light fixtures, plants and more. Drop cloths also help protect patios, plants and other surfaces from the fine paint mist.
Set Up the Sprayer
Fill the paint container about halfway with well-stirred paint. Attach the hose, gun and tip assembly according to directions. Make sure all connections are tight. Place the inlet filter into the paint bucket.
Adjust the pressure to the PSI listing on the tip you’ll be using or slightly lower. Turn the pressure control knob counterclockwise to reduce pressure if needed. Attach an extension to the gun handle if painting high exterior walls and peaks. Load the paint into the system by turning the prime valve until paint flows evenly from the gun. Spray into a container until it flows smoothly without bubbles.
Paint with a System
When painting the house, it helps to work in sections using a systematic technique. Begin at the top of the house above the eaves. Work across the surface using horizontal strokes about 10-12 inches long, slightly overlapping each pass. Continue spraying side to side, working your way down the wall, maintain a consistent distance from the surface as you spray. Allow the paint to fully dry before applying a second coat, following the same systematic technique.
Apply Multiple Coats
For best results, two coats of exterior paint are recommended. Allow the first coat to dry fully before adding the second coat. Adding a second coat provides better paint coverage and durability. Inspect the first coat and touch up any thin spots before applying the final coat. The colors should look richer and the paint will better withstand weathering after two coats are applied. Don’t skimp on applying multiple coats when painting the exterior of your home.
Make any cooperation possible. Any services related to the product, inquire with us now! Sales@Aeroprotools.Com


Ι could not refrain from commenting. Perfectly writtеn!
Thank you for your recognition of us, we will continue to work hard
I think the admin of this web site is really working hard for his site,
because here every information is quality based stuff.
Thank you for your recognition of us, we will continue to work hard